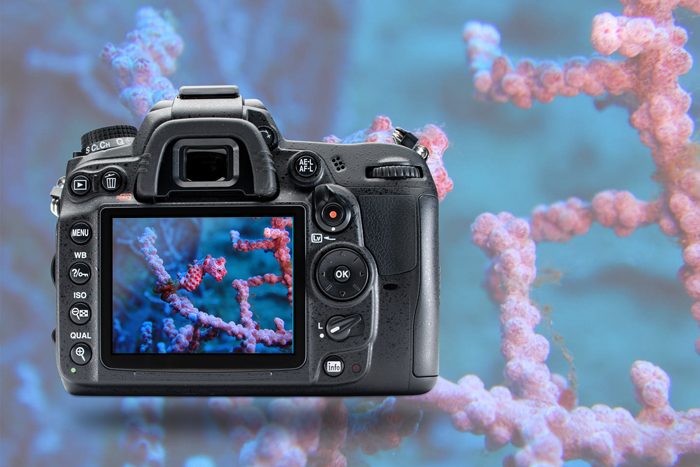
When you see your DSLR camera settings, you can see that there 1001 ways to take pictures. Finding the best setting for your current need will be as difficult as finding a needle in a haystack, especially underwater. Here are part 1 guides on how to set your DSLR right for the best possible underwater shoot.
Underwater Shoot DSLR Setting :
AF Drive: To have your focus lock on a single point, we would suggest that you use an AD rather than continuous.
Turn off AF illuminator: Don’t light up the inside of your housing, especially with the built-in focus light
Assign your AF-ON: By half-pressing the shutter, you release the AF-ON button. You need to do this in order to let the autofocus act as a shutter release by disabling the shutter’s autofocus. Until the AF-ON button is pressed, your lens will be in manual focus mode.
Center Focus: You need to focus on the nearest subject in order to shoot moving objects. That’s when the center focus point is used, especially that it is the strongest focus point in the camera.
Two Clicks Down on your LCD brightness: When you are shooting an object in such a dark environment (for example underwater), having your brightness set high makes the camera think that the object is exposed correctly. This will result in an even darker image when you see it on your computer.
Set your camera to priority release: Allowing the shutter to release no matter how focused the camera is, will be very helpful when you don’t want to miss shooting an object. You don’t want to risk not getting an object just because your camera is not focused and refused to shoot.
Metering: Make sure that when it comes to meter, you meter the whole scene. Not just center or center weighted.
We still have more DSLR settings tips that will help you shoot underwater on your next diving trips. Make sure you check out the blog here.


